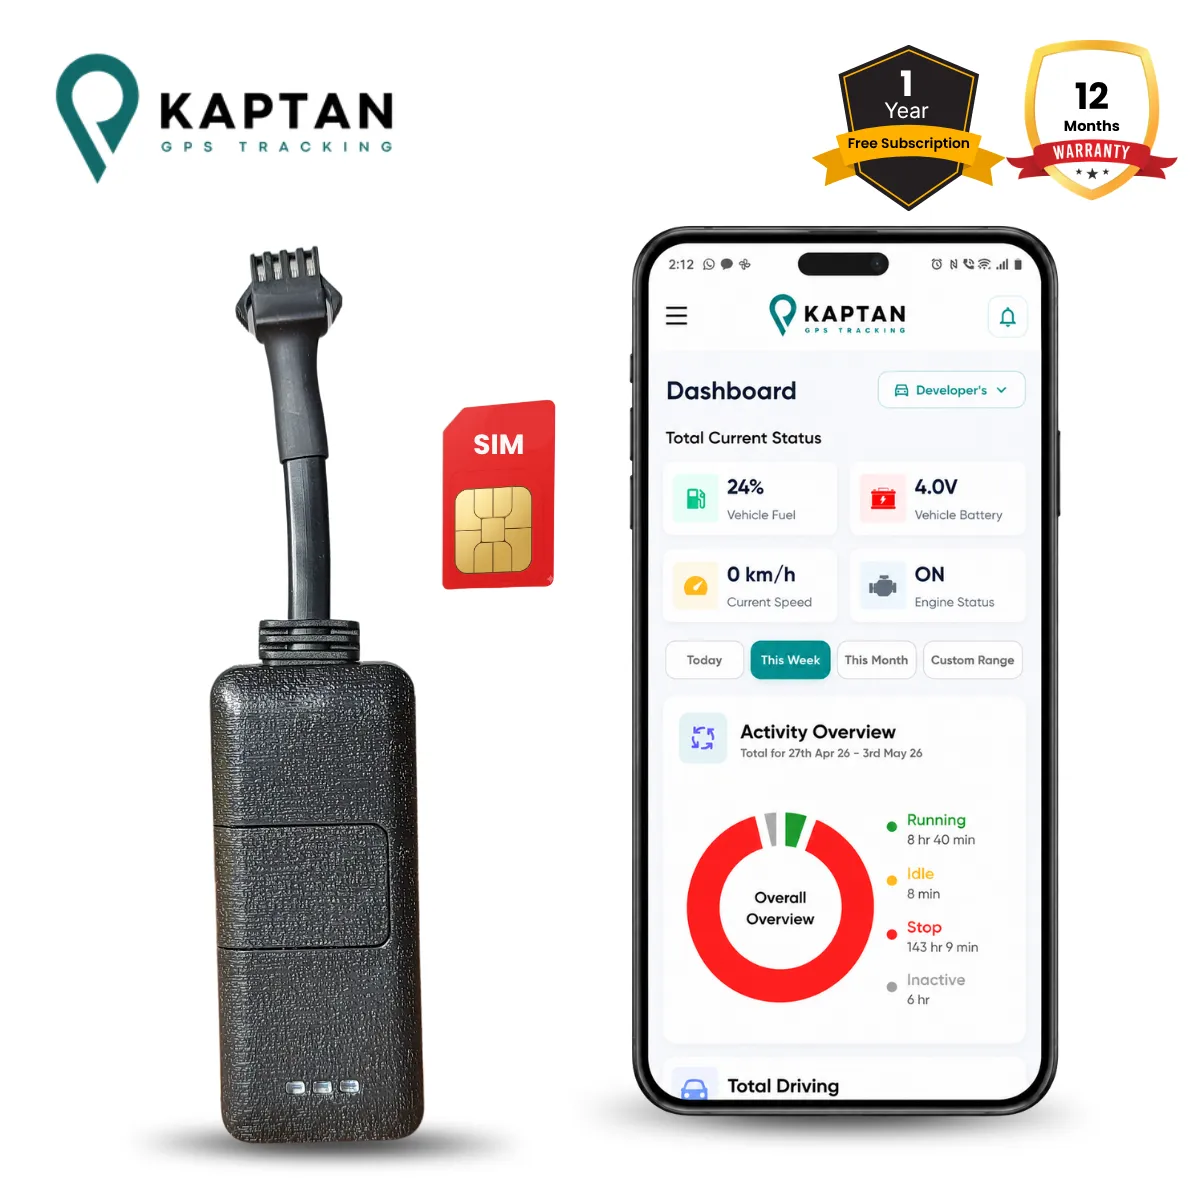
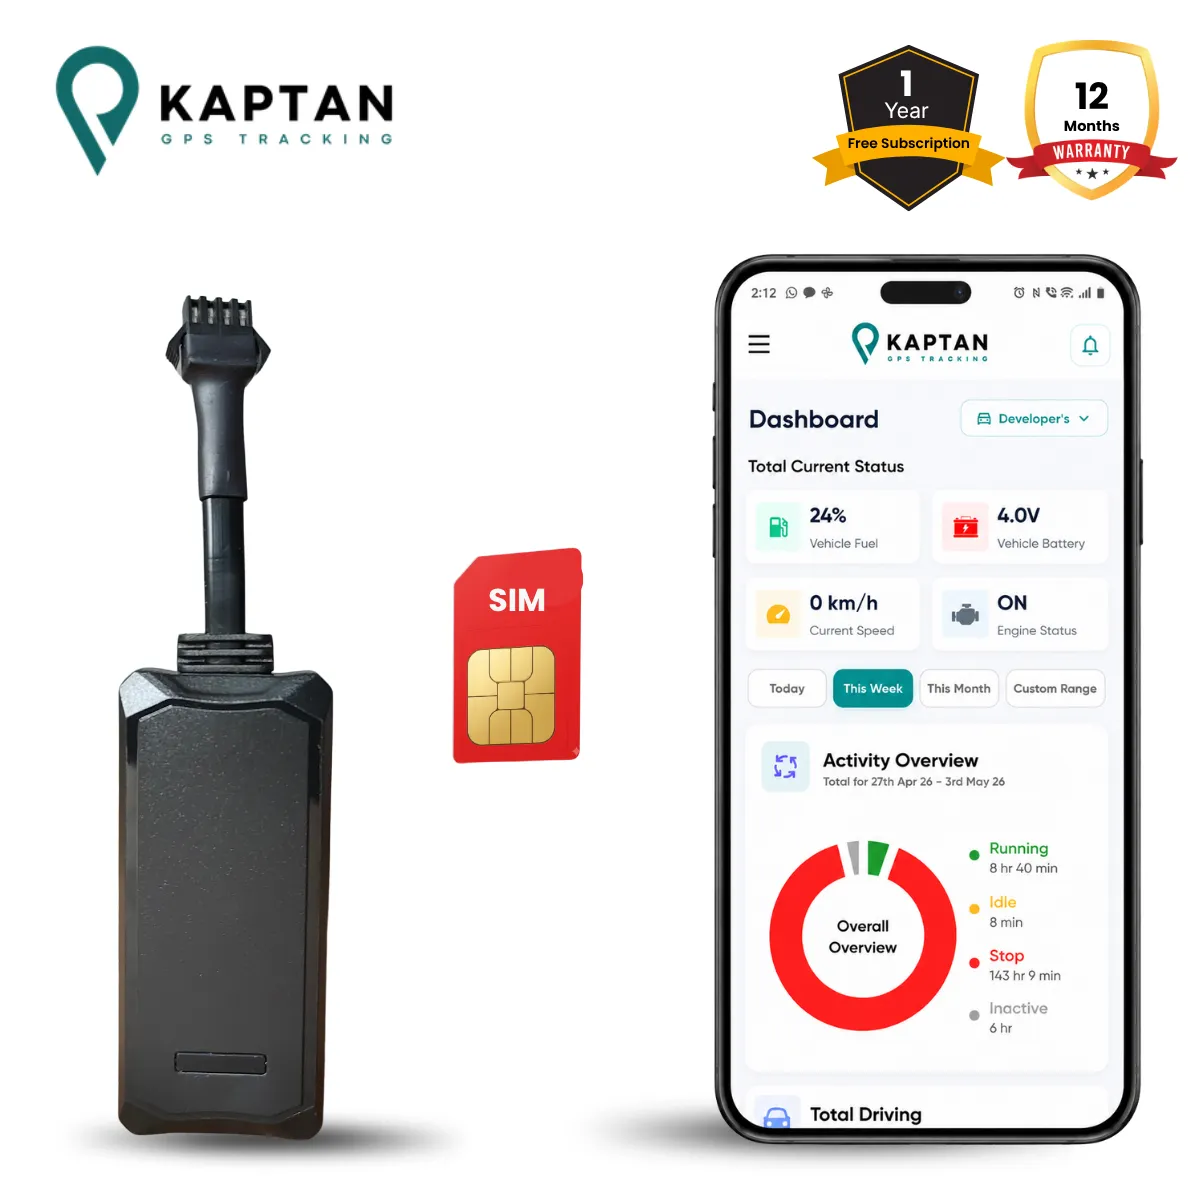
Two models, one video
HYJN01 / HYJN03 Installation
HYJN01 and HYJN03 share the same installation procedure, so the video below covers both devices end to end.
Devices covered by this video


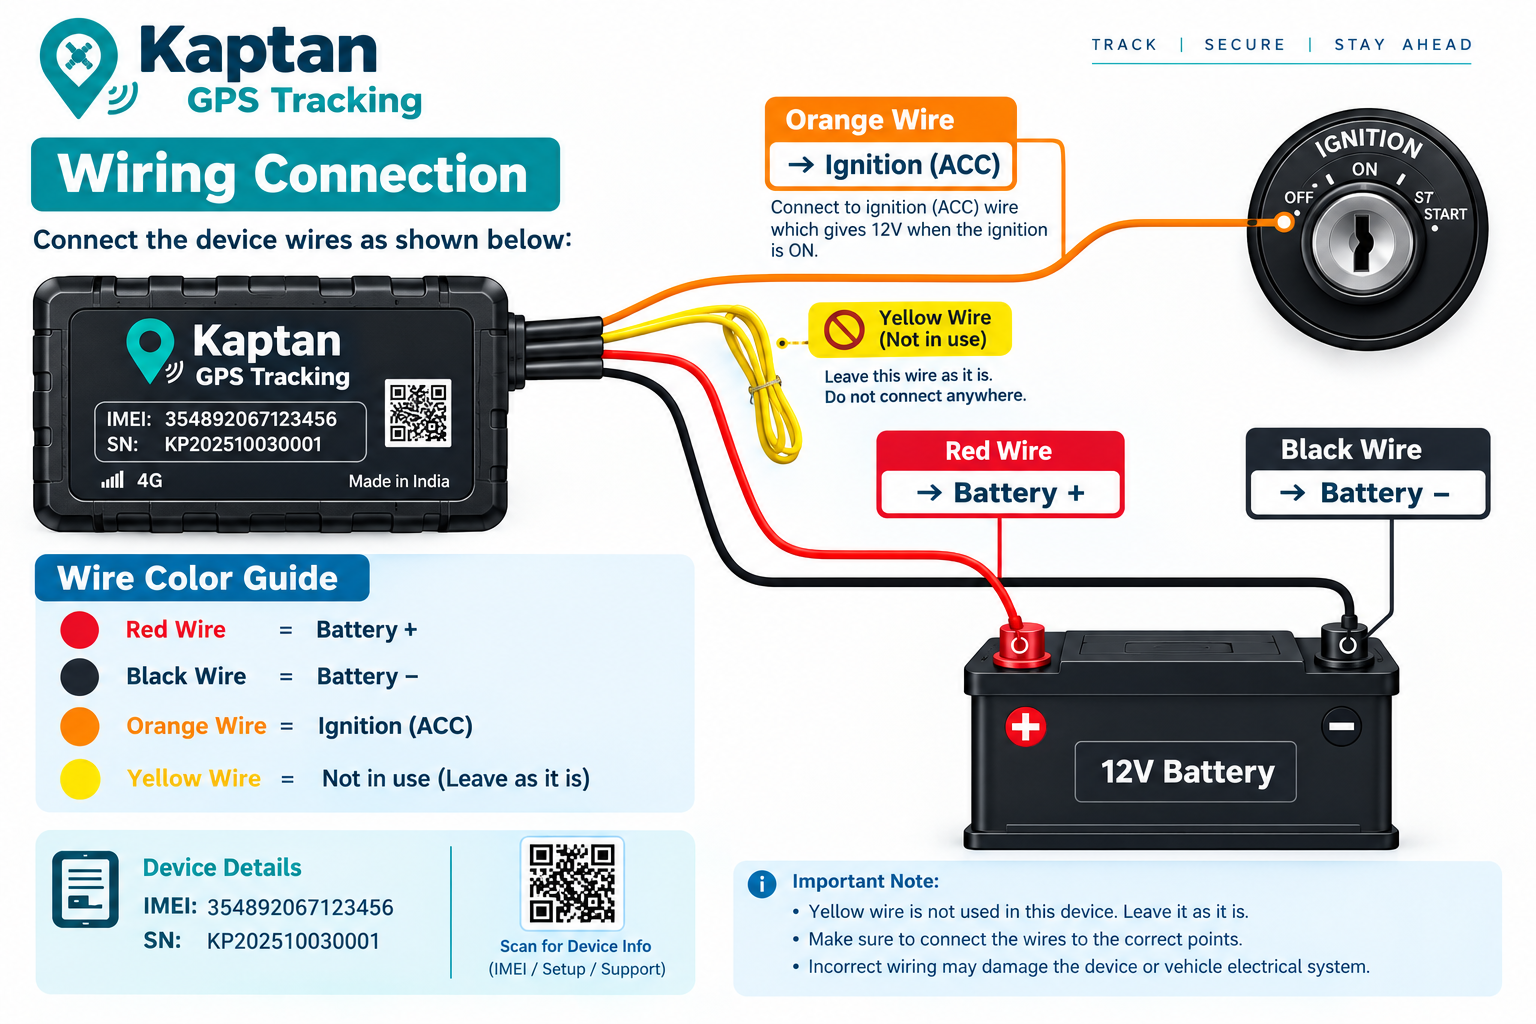

Match the model number on your Kaptan GPS tracker with the photo below, open that model's card and watch its installation video — the same walkthrough our technicians use for that device family.
Several Kaptan GPS models share exactly the same fitting steps, so one video covers all of them. Compare the photo and the model number on your device label, then play the video on the matching card. Each card also shows both wiring diagrams for that device family — standard installation and remote cut-off — and either one can be opened at full size while fitting.
HYJN01 and HYJN03 share the same installation procedure, so the video below covers both devices end to end.
Devices covered by this video
HYJN05, HYJN06 and HYJN07 follow the same installation steps — one video covers all three devices.
Devices covered by this video
HYJN08 and HYJN09 use the same installation steps. The video below is the correct guide for both models.
Devices covered by this video
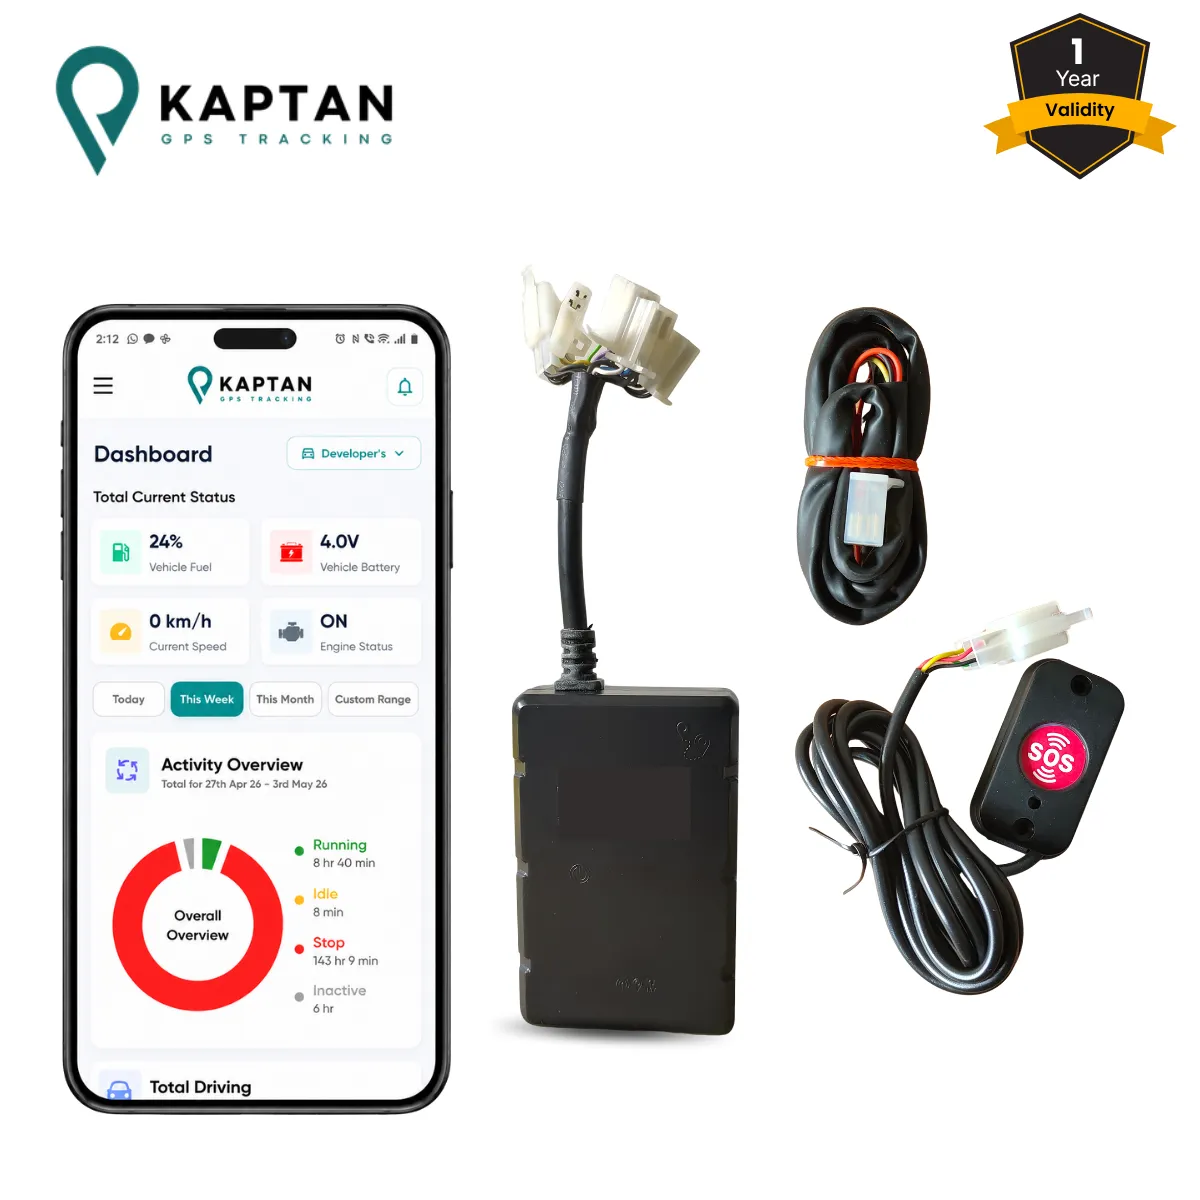 HYJN08
Vehicle GPS Tracker
HYJN09
Vehicle GPS Tracker
HYJN10 and HYJN11 use the same installation steps. The video below is the correct guide for both models.
Devices covered by this video
HYJN10
Vehicle GPS Tracker
HYJN11
Vehicle GPS Tracker
These steps keep the fitting safe and make sure the device reports correctly from the very first drive.
Switch off the ignition and disconnect the negative battery terminal before touching any wiring.
The model number (HYJN01 to HYJN11) is printed on the device label and on the box. Match it to the card above.
Keep the device away from heat, water and moving parts, with the label facing up and the antenna unobstructed.
Reconnect the battery, start the vehicle and confirm a live location in the app before refitting any panels.
The quick answers customers ask most before fitting a Kaptan GPS tracker.
Match the model number printed on your device label or box — for example HYJN01 — with the model names listed on each card above. Every model shown in a card is covered by that card's video.
Devices covered by the same video can differ slightly in colour or connector type, but the installation steps are the same. Use the video listed with your model number — and if you are still unsure, send us a photo of the label and our team will confirm it.
Tap Open on YouTube under the player. The video then opens in the YouTube app or your browser, which works even when the embedded player is blocked by a network or browser setting.
The videos walk through the complete installation step by step. If you are not comfortable working with vehicle wiring, have a trained technician fit the device so that the wiring, fuse protection and placement stay safe.
Share your model number or a photo of the device label — our support team will point you to the right installation video and help with activation.